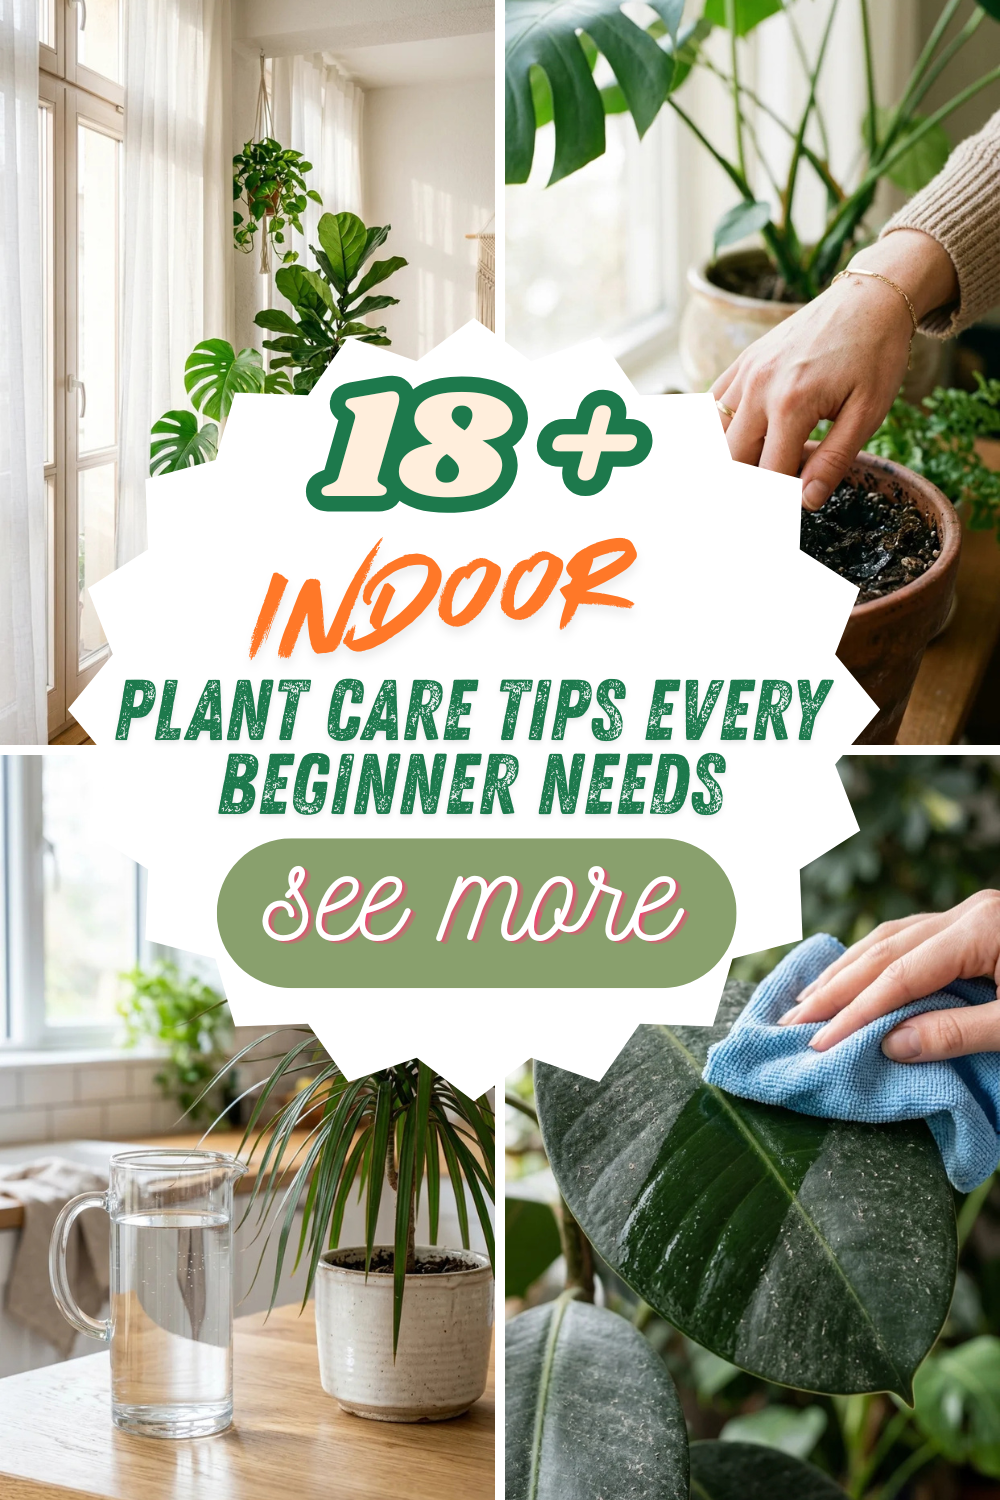
Transforming your home into a verdant sanctuary is one of the most rewarding journeys a homeowner can embark upon. Beyond their aesthetic appeal, indoor plants purify the air, reduce stress, and bring a sense of tranquility to our fast-paced lives. However, for many beginners, the transition from “plant admirer” to “plant parent” is paved with yellowing leaves and mysterious wilting. The secret to a thriving indoor garden isn’t a magical “green thumb”—it is understanding the fundamental biological needs of your botanical companions.
Whether you have just purchased your first Snake Plant or you are struggling to keep a temperamental Calathea alive, these eighteen essential tips will provide the foundation you need to foster a flourishing indoor jungle.
1. Lighting
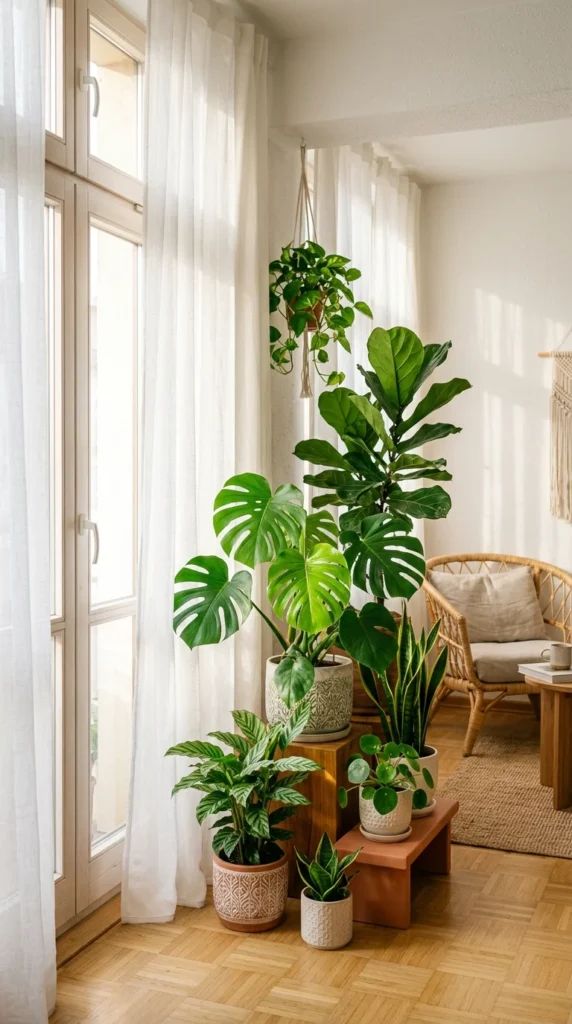
Lighting is the single most important factor in plant survival. Photosynthesis is how plants create food; without adequate light, they are essentially starving. Before buying a plant, observe the light in your home throughout the day. “Bright indirect light” is the gold standard for most tropical houseplants—this means a spot where the plant can see the sky but isn’t being hit by the sun’s harsh, direct rays. South-facing windows provide the most intense light, while North-facing windows offer the least. If your plant is stretching toward the window or losing its variegation, it’s likely “leggy” and needs more light.
2. Drainage
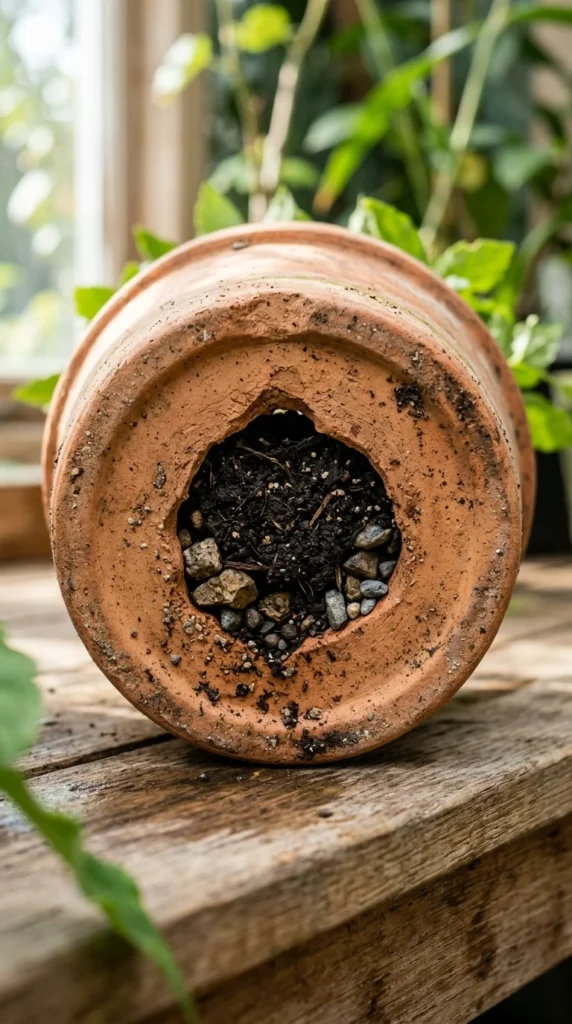
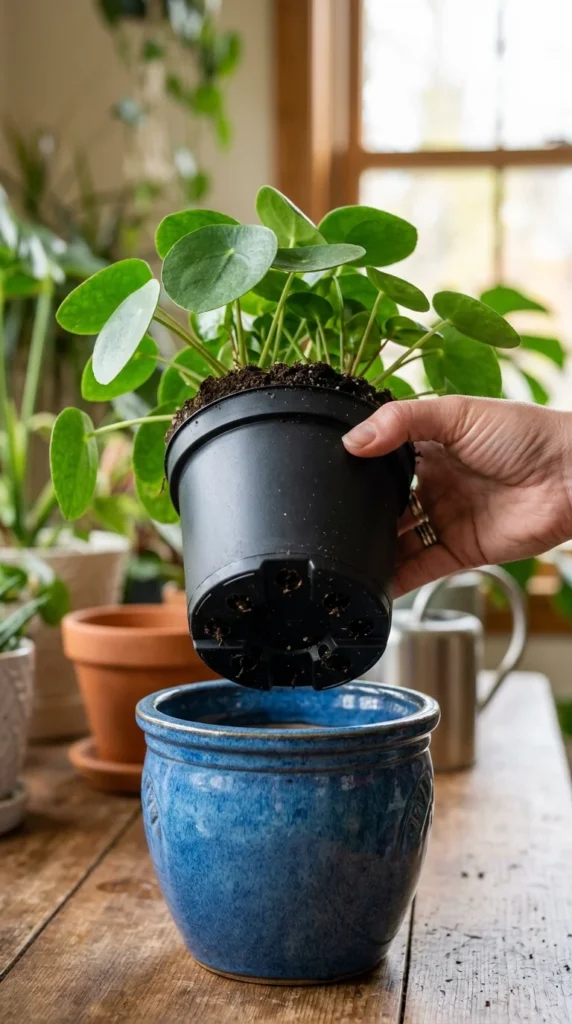
The fastest way to kill an indoor plant is by “drowning” it in a pot without drainage. When water sits at the bottom of a container with nowhere to go, it creates an anaerobic environment that leads to root rot—a fungal disease that turns healthy roots into mush. Always choose pots with drainage holes at the bottom. If you find a decorative “cachepot” that you love but it lacks a hole, keep the plant in its plastic nursery liner and place the liner inside the decorative pot. This allows you to remove the plant for watering and ensures no standing water remains.
3. Watering
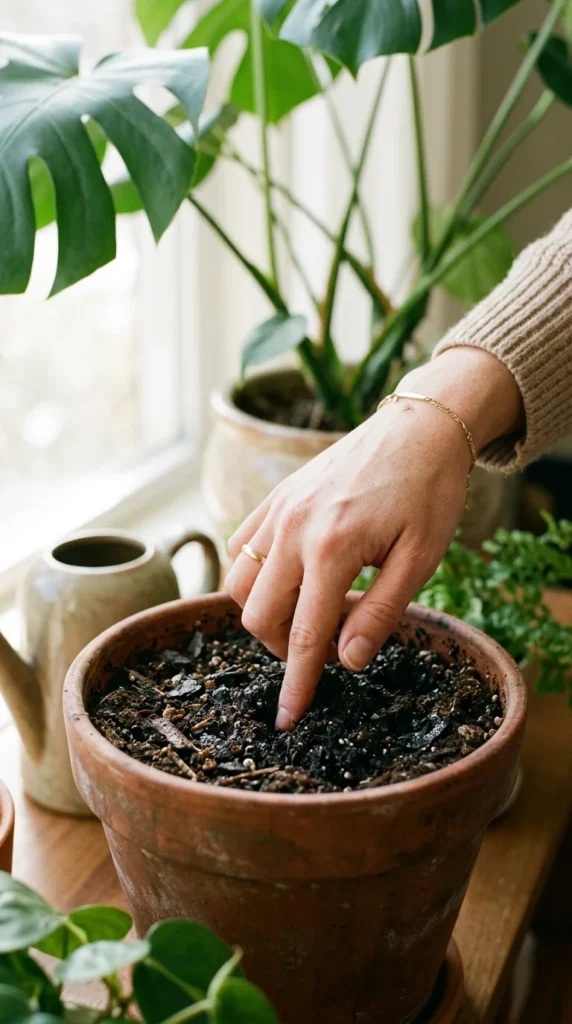
Overwatering is the number one cause of houseplant death for beginners. Most plants do not want to be on a strict calendar schedule (e.g., “every Monday”). Instead, they should be watered based on their specific needs and environmental conditions. Use the “finger test”: stick your index finger about two inches into the soil. If it feels damp and soil sticks to your finger, wait. If it feels dry and crumbly, it’s time to water. Remember that plants need less water in the winter when they are dormant and more in the summer when they are actively growing.
4. Research
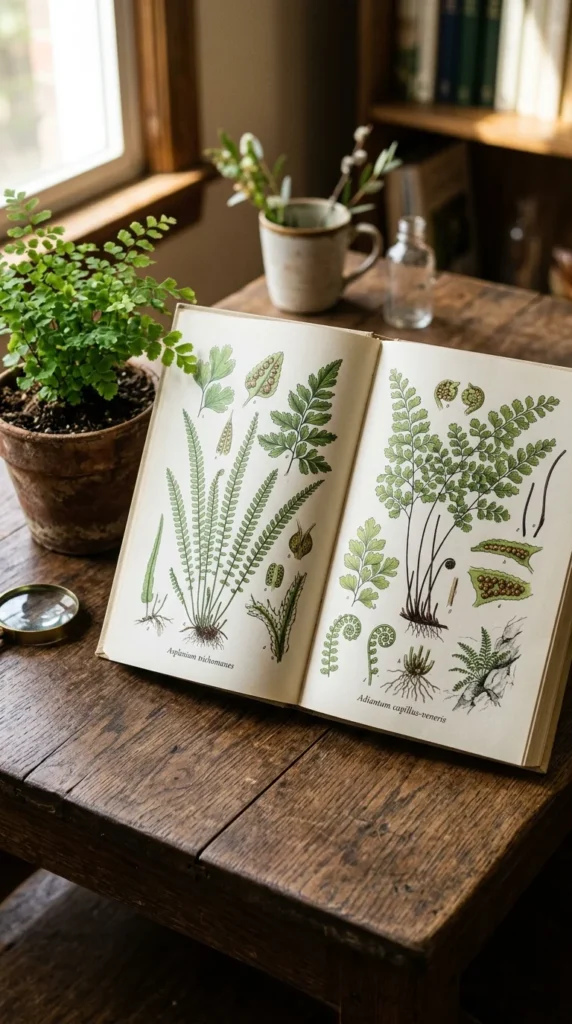
Not all plants are created equal. A succulent from the Mexican desert has vastly different needs than a fern from the floor of a damp rainforest. Before you bring a new plant home, spend five minutes researching its “natural habitat.” Understanding where a plant comes from will tell you everything about its preferred light, humidity, and water requirements. This knowledge prevents the frustration of treating a drought-tolerant Cactus like a moisture-loving Peace Lily.
5. Dusting
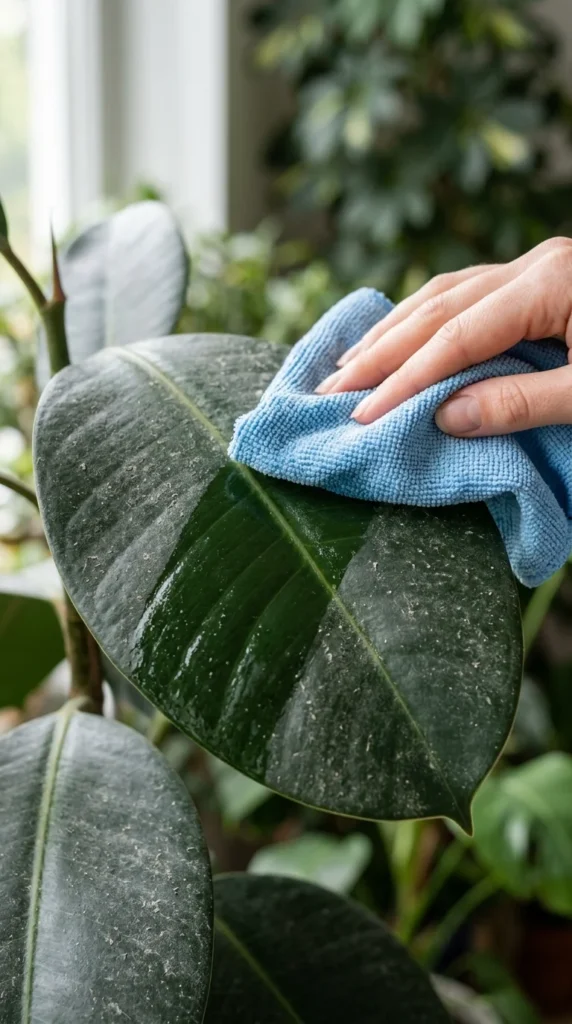
In the wild, rain naturally cleanses plant leaves. Indoors, dust accumulates quickly, forming a film that blocks sunlight and clogs the “pores” (stomata) through which the plant breathes. Set a routine to wipe down large leaves with a damp cloth every few weeks. For plants with smaller or more delicate leaves, a gentle lukewarm shower in the sink or bathtub can wash away debris. Clean leaves can photosynthesize more efficiently, leading to faster growth and a healthier appearance.
6. Humidity
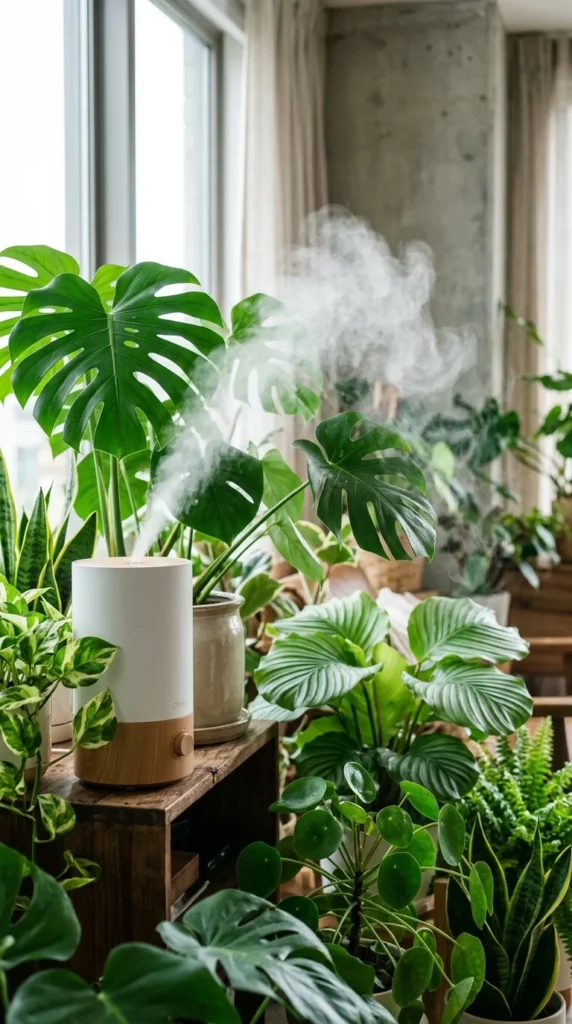
Most indoor environments, especially during winter when heaters are running, are far too dry for tropical plants. Many “houseplants” are native to tropical regions where humidity stays above 60%. If your plant’s leaf tips are turning brown and crispy despite regular watering, the air is likely too dry. You can increase humidity by using a dedicated humidifier, placing plants in naturally humid rooms like the bathroom or kitchen, or setting the pots on a tray filled with pebbles and water (the “pebble tray” method).
7. Soil
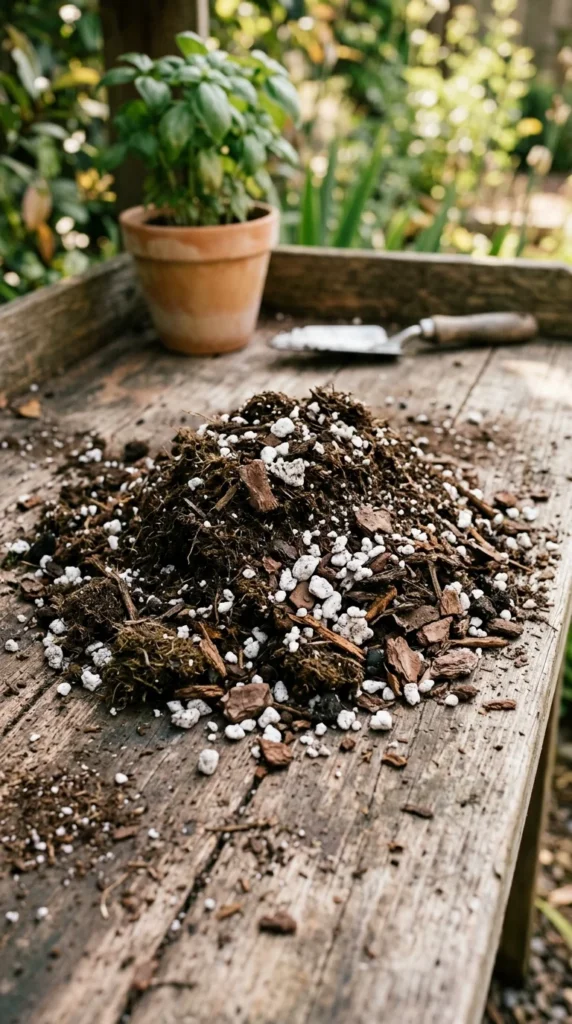
The dirt from your backyard is not suitable for indoor containers. Garden soil is too heavy, lacks proper aeration, and may contain pests or pathogens. Use a high-quality “potting mix” designed specifically for indoor use. These mixes are usually “soilless” and contain ingredients like peat moss, coconut coir, and perlite to ensure the soil remains light and fluffy. Specialized plants, like orchids or cacti, require even more specific mixes—orchid bark for the former and a sandy, gritty mix for the latter.
8. Fertilizer
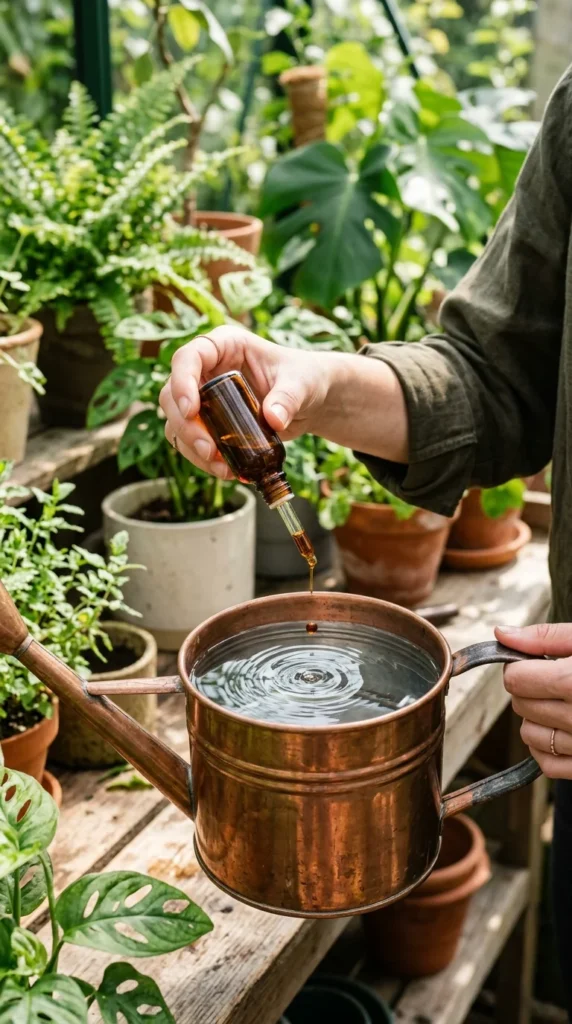
Plants need nutrients to grow, but they are not “food” in the way we think of it (light is their food). Fertilizer is more like a multivitamin. Most potting soils come with a small amount of slow-release fertilizer that lasts for about six months. After that, you’ll need to supplement. Use a balanced, water-soluble fertilizer during the growing season (Spring and Summer). A common mistake is over-fertilizing, which can “burn” the roots. It is always better to under-fertilize or use a half-strength dilution than to overdo it.
9. Repotting
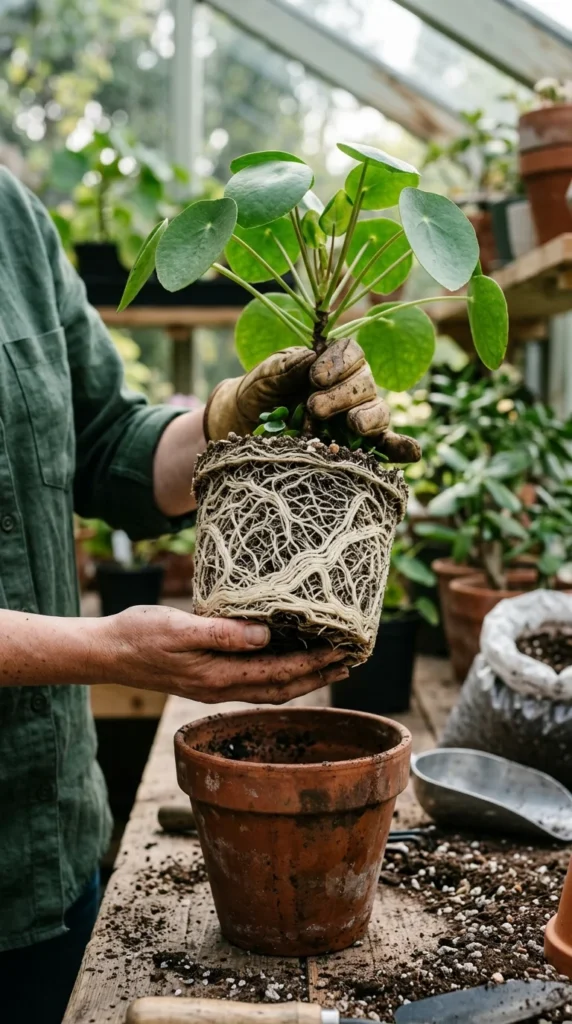
Plants eventually outgrow their homes. Signs that a plant needs repotting include roots growing out of the drainage holes, water running straight through the pot without being absorbed, or the plant looking top-heavy and falling over. When repotting, only go up one size (usually 1-2 inches in diameter larger than the current pot). Giving a plant too much room can lead to “overpotting,” where the excess soil stays wet for too long because the roots can’t reach the moisture, leading to rot.
10. Pruning
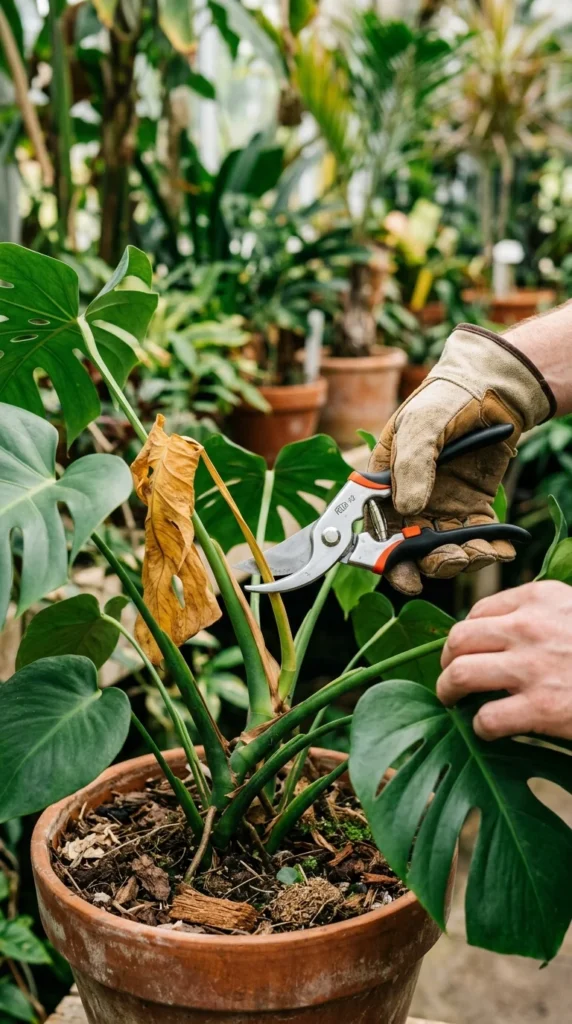
Don’t be afraid to give your plants a haircut. Pruning away dead, yellow, or diseased leaves helps the plant direct its energy toward new, healthy growth. It also improves airflow around the foliage, which prevents fungal issues. If a plant is getting too long or “leggy,” pinching off the tips can encourage it to branch out and become bushier. Always use sharp, sterilized scissors or shears to make clean cuts and avoid crushing the stems.
11. Pests
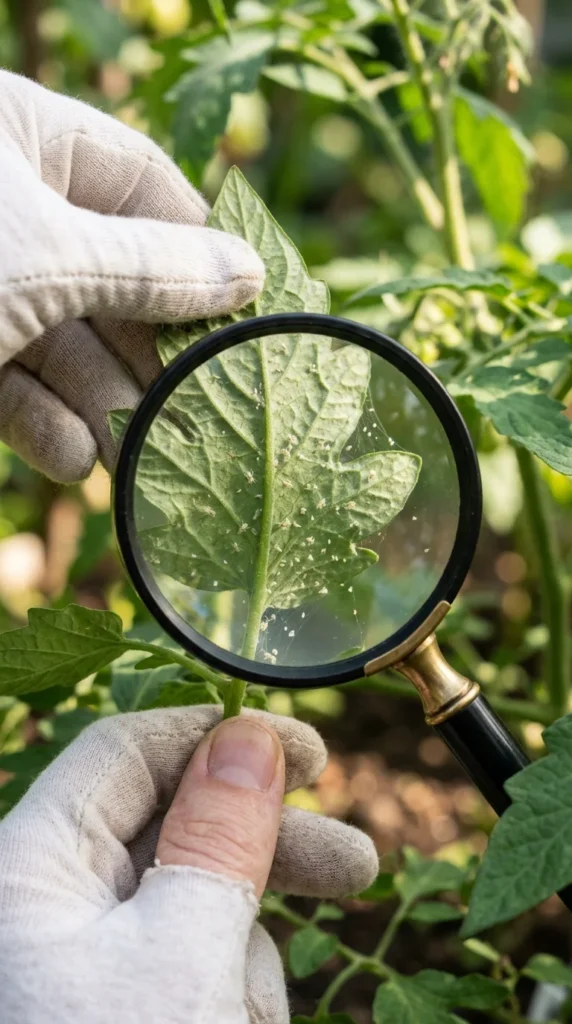
Even the cleanest homes can get plant pests like fungus gnats, mealybugs, or spider mites. Check your plants regularly, especially the undersides of the leaves and the spots where the stem meets the leaf. If you spot tiny moving dots or cotton-like fluff, isolate the plant immediately to prevent the spread. Most common pests can be treated with a mixture of water and neem oil or insecticidal soap. Early detection is the key to saving a plant from an infestation.
12. Temperature
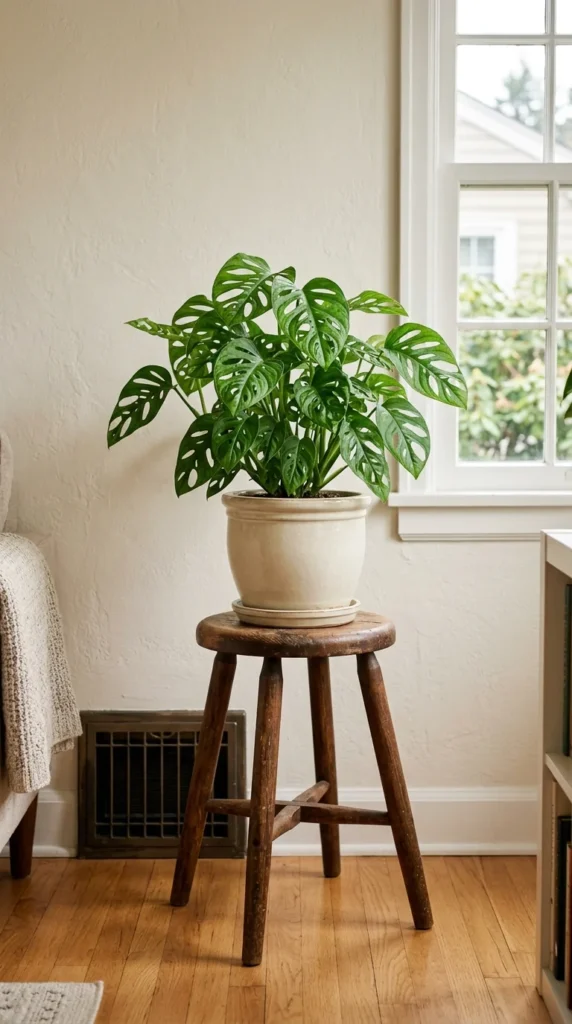
Indoor plants generally prefer the same temperatures humans do—between 65°F and 75°F (18°C–24°C). However, they are very sensitive to sudden fluctuations. Keep your plants away from air conditioning vents, radiators, and drafty windows or doors. Sudden blasts of hot or cold air can shock the plant, causing it to drop leaves or wilt. If you are comfortable in the room, your plant likely is too, as long as it isn’t in the path of a direct draft.
13. Bottom-Watering
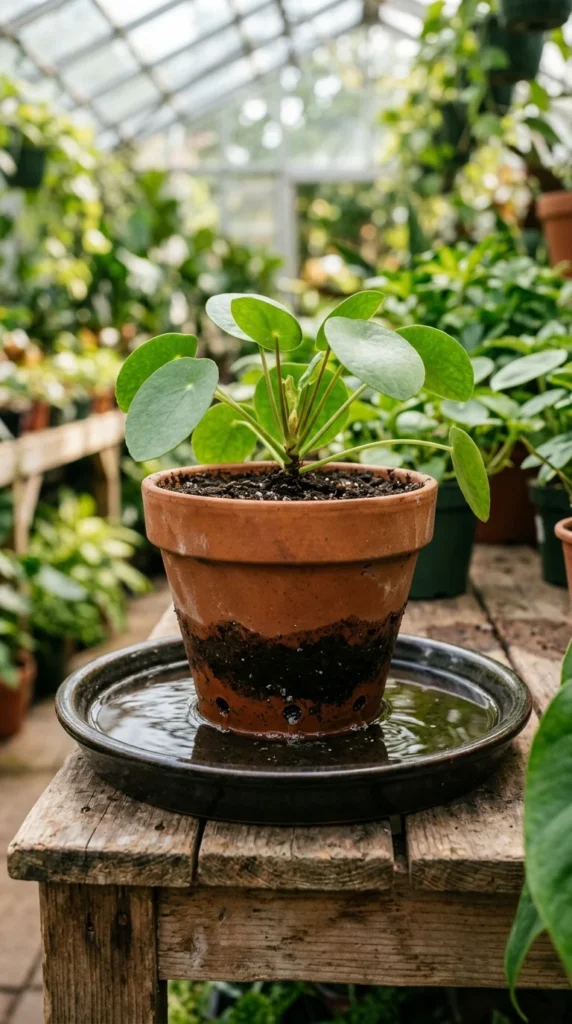
Bottom-watering is an excellent technique for plants that have become “hydrophobic” (where the soil has dried out so much it repels water) or for plants that don’t like getting their leaves wet, such as African Violets. Simply place your pot (with drainage holes) in a tray or sink filled with a few inches of water. Let it sit for 15-30 minutes until the top of the soil feels moist. This ensures the entire root ball is thoroughly hydrated and prevents the “tunneling” effect often seen with top-watering.
14. Water Quality
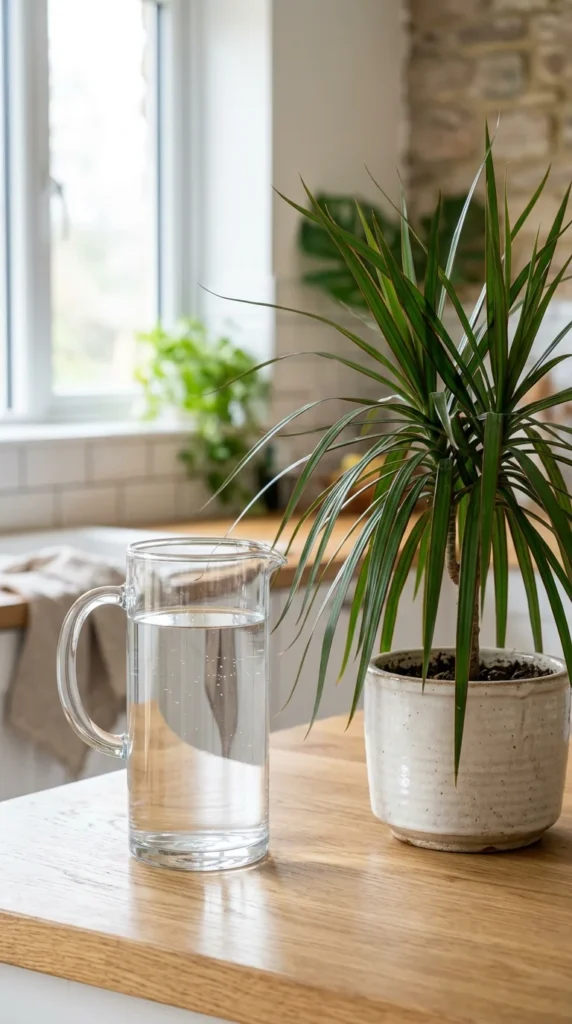
Some plants, particularly Dracaenas, Spiders Plants, and Calatheas, are sensitive to the chemicals found in tap water, such as chlorine and fluoride. This sensitivity often manifests as brown, crispy leaf tips. If you notice this, try using filtered water or rainwater. Alternatively, you can fill your watering can and let it sit out overnight; this allows some of the chlorine to dissipate and ensures the water is at room temperature, which prevents shocking the roots.
15. Acclimation
When you bring a plant home from a nursery, it undergoes a period of shock. It is moving from a perfect greenhouse environment to a home with different light and humidity. Don’t be alarmed if your plant drops a leaf or two in the first week. Give it time to acclimate to its new surroundings before moving it around or repotting it. Avoid the temptation to “fix” it by immediately over-watering or fertilizing; usually, it just needs a few weeks of stillness to adjust.
16. Grouping
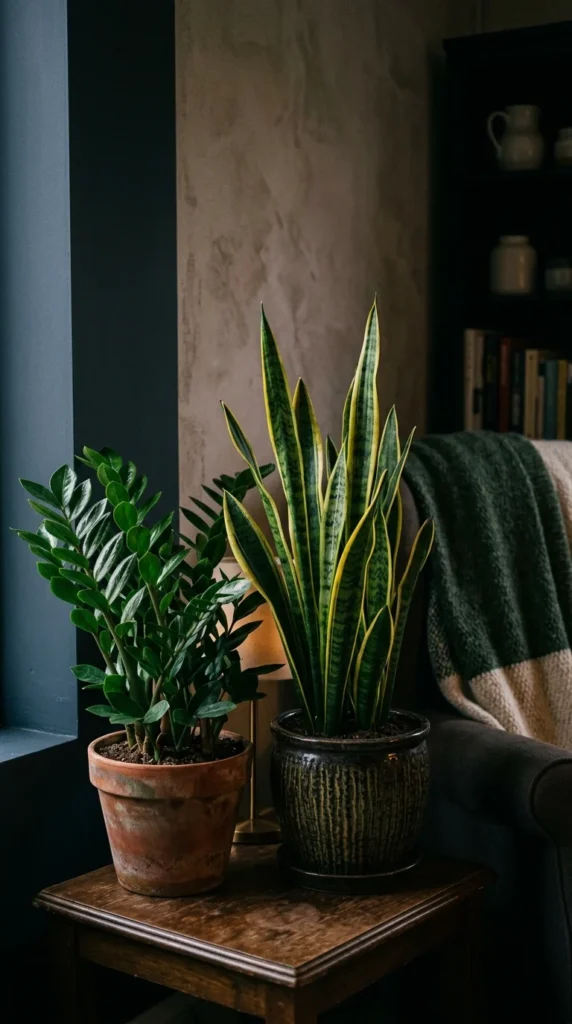
Plants are “social” creatures in a sense. Grouping your plants together creates a micro-environment with higher humidity. As plants transpire (release moisture through their leaves), they humidify the air around them. By clustering them, you trap that moisture, creating a “mini-jungle” effect that benefits every plant in the group. This is also an excellent way to create a stunning visual focal point in your home.
17. Observation
The best tool in a gardener’s kit is their eyes. Spend time with your plants every day. Look for new growth, changes in leaf color, or any signs of distress. Plants have a “language”—drooping leaves might mean thirst, while yellow leaves might mean too much water. By observing them regularly, you will begin to recognize these subtle cues before they become major problems. A daily walkthrough of your indoor garden is not only good for the plants, but it’s also a great way to decompress.
18. Pot Size
As a beginner, it is tempting to buy a massive, beautiful pot for a small plant so it can “grow into it.” Resist this urge. A pot that is too large holds significantly more soil than the plant’s roots can utilize. This extra soil stays wet for much longer than necessary, creating a high risk of root rot. Always choose a pot that is proportional to the current size of the root system. As the plant grows, you can gradually move it into larger containers over the years. Growing a plant is a marathon, not a sprint.