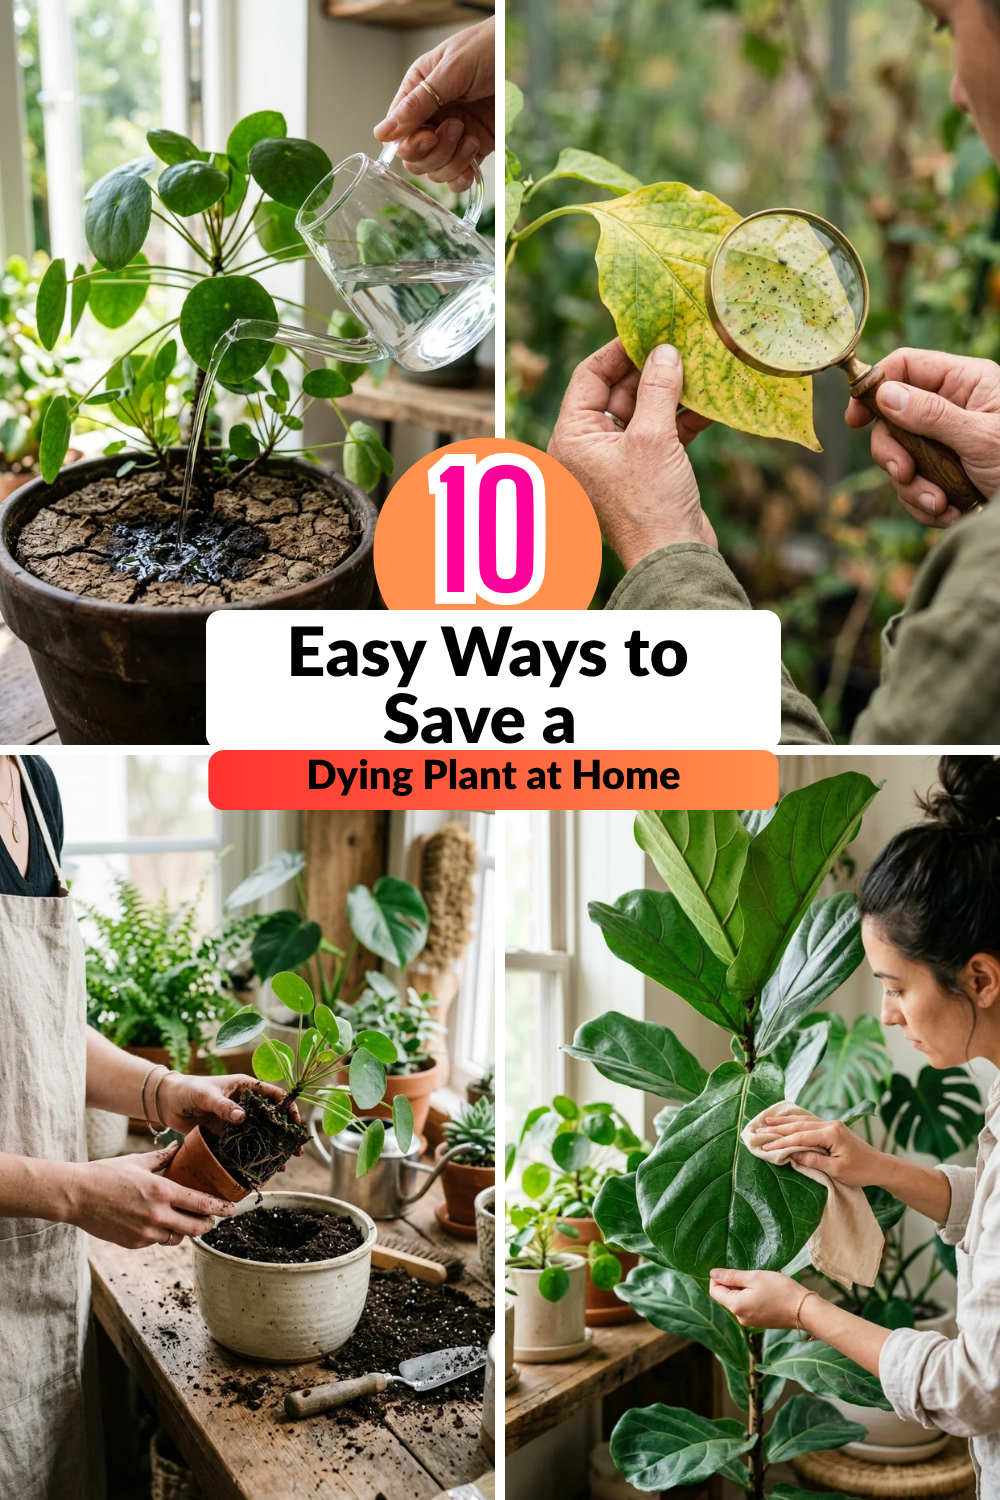
We have all been there: that moment of realization when your once-vibrant leafy companion starts looking a little worse for wear. Whether it is a drooping fern, a yellowing pothos, or a succulent that has lost its structural integrity, seeing a plant die can feel like a personal failure. But before you consign your green friend to the compost bin, take a deep breath. Plants are incredibly resilient, and most “dying” plants are simply crying out for a change in their environment.
Reviving a plant is a rewarding journey that combines science, observation, and a bit of patience. By understanding the underlying causes of distress, you can perform an emergency intervention that brings your foliage back from the brink. Here are ten easy, expert-backed ways to save a dying plant at home.
1. Diagnosis
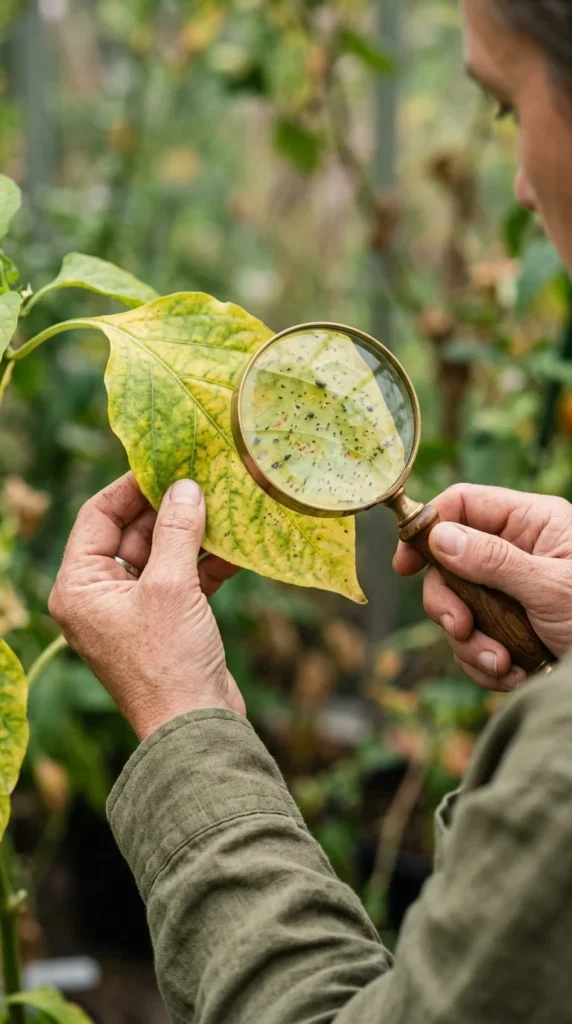
The first step in any rescue mission is identifying the enemy. Plants cannot speak, but they communicate through their leaves, stems, and soil. Take a close look at the symptoms. Are the leaves yellow and mushy? That is a classic sign of overwatering. Are they brown, crispy, and curling? Your plant is likely thirsty or suffering from low humidity.
Check the stems for firmness. A mushy stem near the soil line often indicates root rot, which is a more serious issue but still potentially fixable. Look for tiny webs, sticky residue, or moving specks—these are signs of a pest infestation. By correctly diagnosing the problem, you avoid “fixing” the wrong thing and causing further stress to an already weakened plant.
2. Hydration
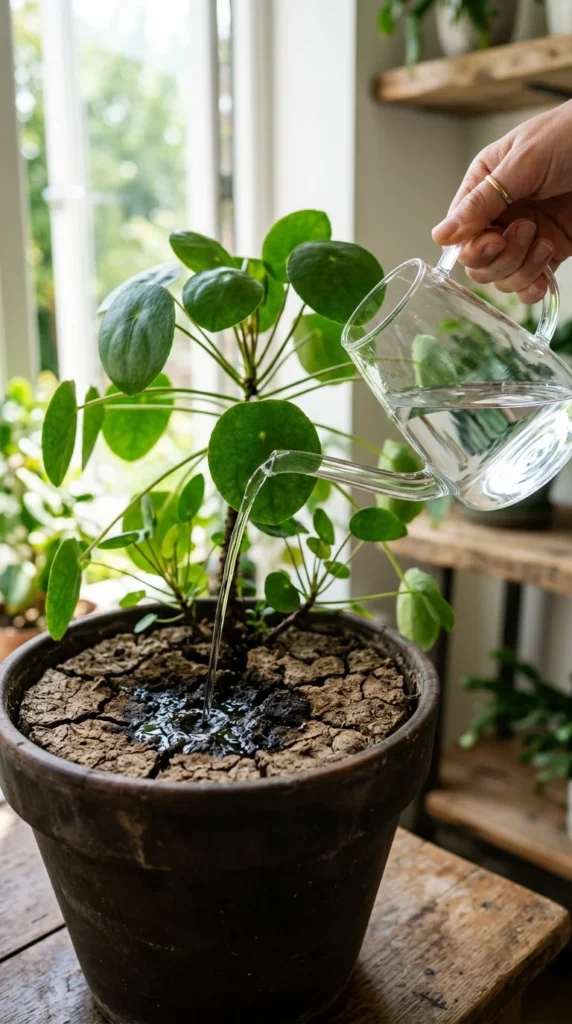
Water is the lifeblood of your plant, but it is a double-edged sword. If your plant is bone-dry and the soil has pulled away from the edges of the pot, it needs a “bottom-watering” session. Place the pot in a sink or basin filled with a few inches of water and let it soak for 30 minutes. This allows the roots to drink at their own pace and ensures the soil is fully saturated.
Conversely, if the soil is soaking wet and smells slightly sour, you have overwatered. In this case, the best hydration strategy is actually a “drought.” Stop watering immediately and move the plant to a spot with better airflow to help the soil dry out. If the damage is severe, you may need to remove the plant from the pot and let the root ball air out on some newspaper for a few hours.
3. Drainage
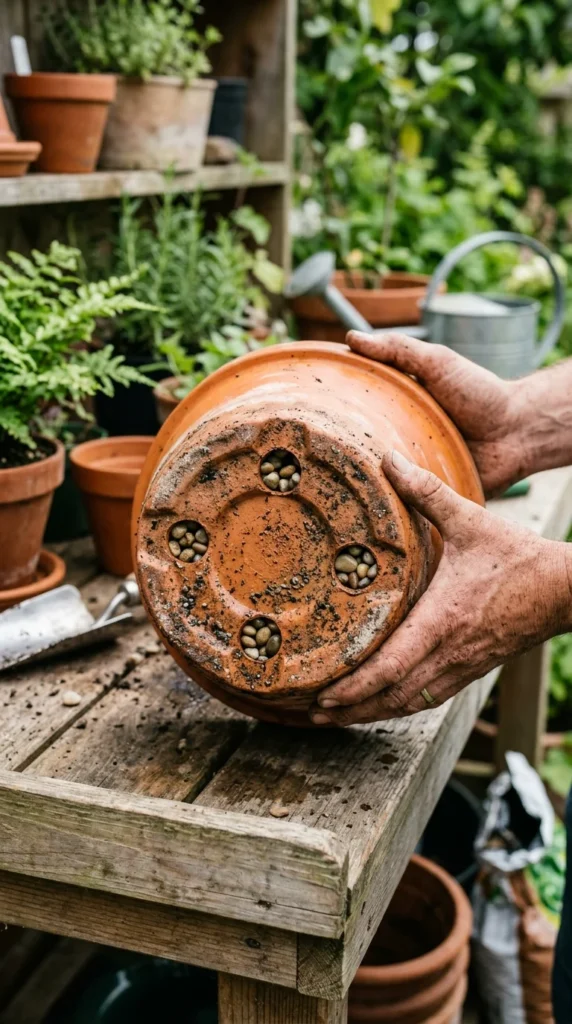
One of the most common reasons house plants die is “wet feet.” This happens when a plant sits in stagnant water because the pot lacks drainage holes. If your favorite decorative planter doesn’t have a hole at the bottom, your plant is essentially living in a swamp, which leads to root rot.
To save it, you must prioritize drainage. Either drill a hole in the bottom of the pot or move the plant into a plastic “nursery pot” with holes, then place that nursery pot inside your decorative one. Additionally, check that the soil hasn’t become compacted. Using a chopstick to gently poke holes in the soil can help oxygen reach the roots, which is just as important for plant health as water.
4. Pruning
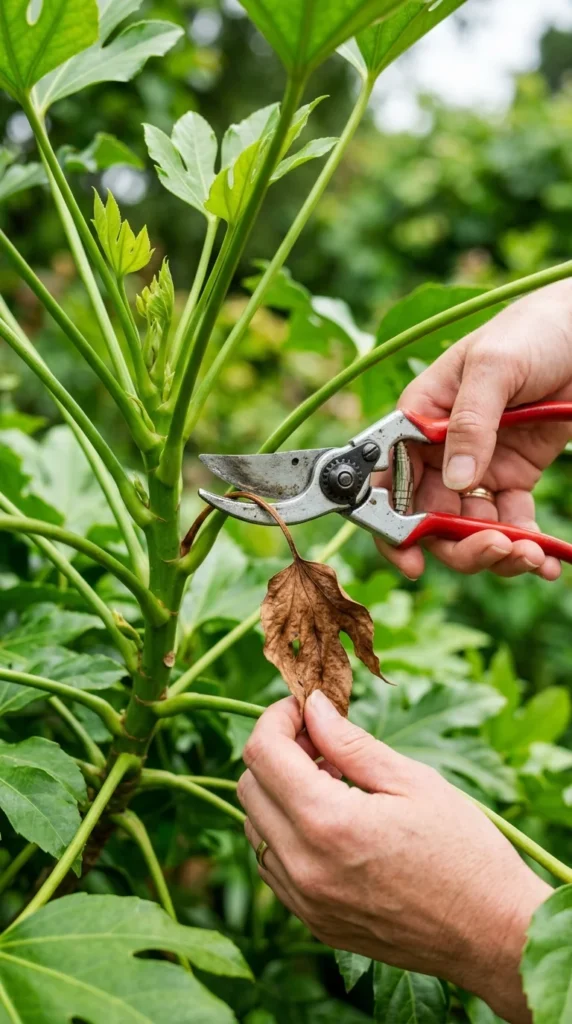
When a plant is struggling, it spends a lot of energy trying to keep its dying parts alive. You can help it redirect that energy toward new growth by pruning away the dead weight. Use a pair of sterilized scissors or garden shears to snip off any leaves that are more than 50% brown or yellow.
If a stem is completely shriveled or mushy, cut it back to where you see healthy, green tissue. Don’t be afraid to be a little aggressive; removing the “ugly” parts of the plant not only makes it look better but also improves airflow around the remaining foliage and prevents the spread of potential fungal issues or pests.
5. Repotting
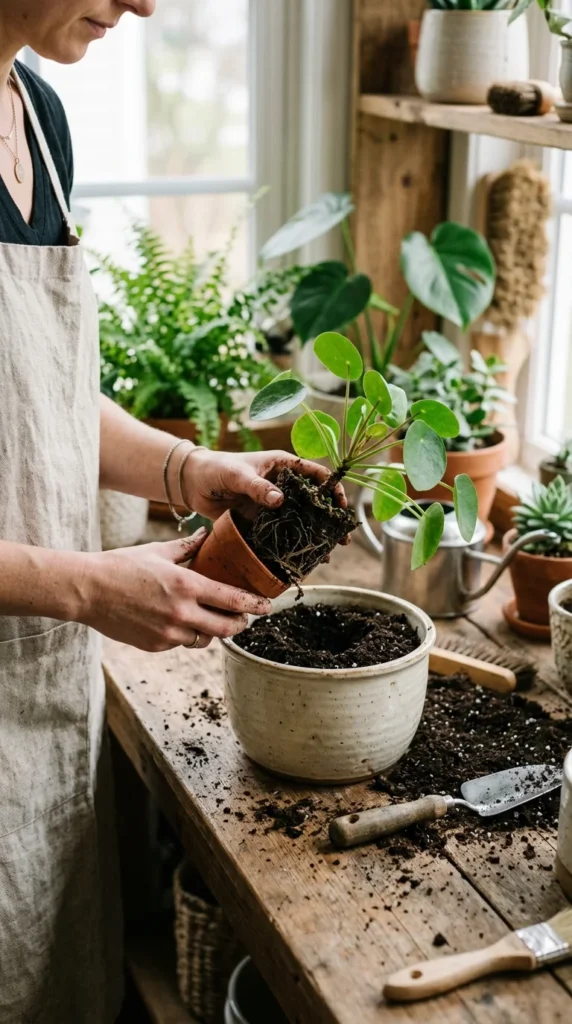
Sometimes, a plant is simply outgrowing its home. If you see roots circling the top of the soil or poking out of the drainage holes, your plant is “root-bound.” This means there isn’t enough soil left to hold moisture or nutrients, causing the plant to slowly starve and dehydrate.
To fix this, gently transition the plant to a pot that is one size larger (about 2 inches wider in diameter). Use fresh, high-quality potting soil tailored to your specific plant type—cacti need sandy soil, while tropicals love peat-based mixes. Fresh soil provides a localized “nutrient bomb” that can jumpstart the recovery process.
6. Sunlight
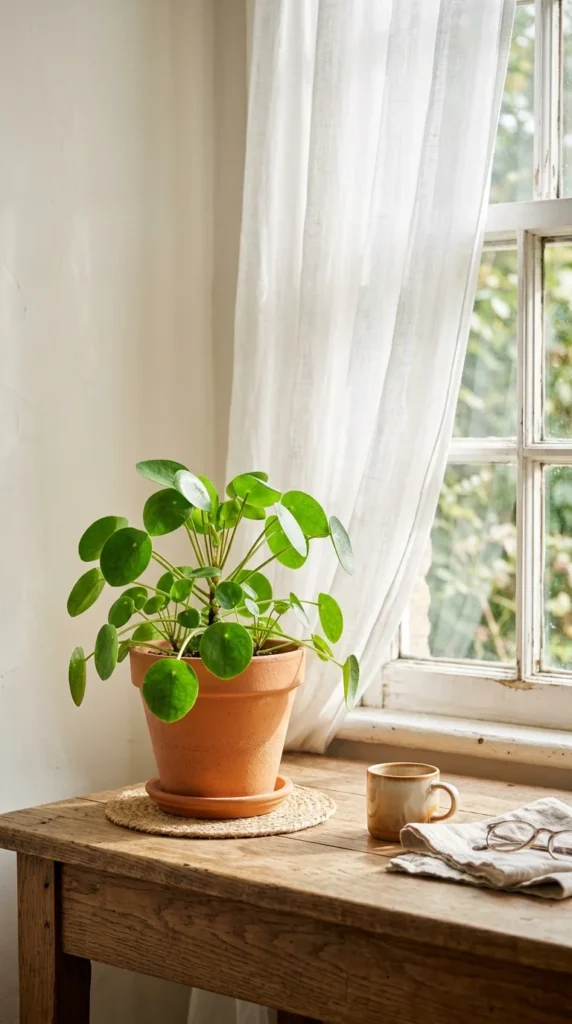
Lighting is the “food” for plants through photosynthesis. A plant in a dark corner will eventually stretch out (become leggy), lose its color, and die. Conversely, a plant that prefers shade will get “sunburned” if placed in direct afternoon sun, resulting in bleached or crispy patches on the leaves.
Observe how the light moves through your home. If your plant is dying, try moving it to a spot with “bright, indirect light”—usually near a north or east-facing window. This provides enough energy for recovery without the risk of scorching the leaves. If your home is naturally dark, consider investing in a small LED grow light to give your plant the boost it needs.
7. Cleaning
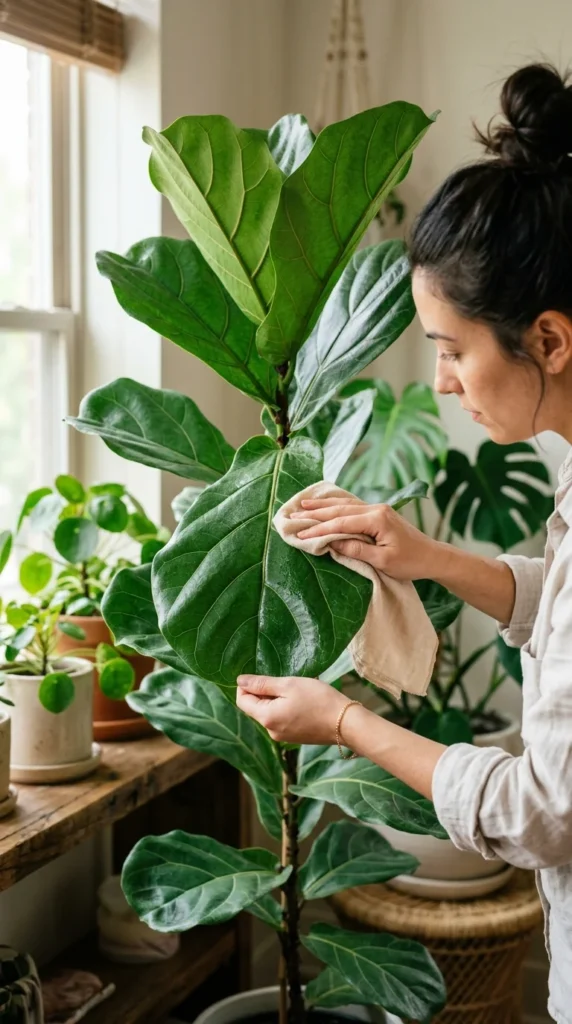
It might sound strange, but a dusty plant is a hungry plant. Dust layers on leaves block sunlight and clog the pores (stomata), preventing the plant from “breathing” and photosynthesizing efficiently. This can lead to a slow decline in health.
Take a damp microfiber cloth or a soft sponge and gently wipe down every leaf. For plants with many small leaves, you can give them a gentle “shower” in the sink or bathtub with lukewarm water. This not only cleans the leaves but also washes away potential pests like spider mites that thrive in dry, dusty conditions.
8. Humidity
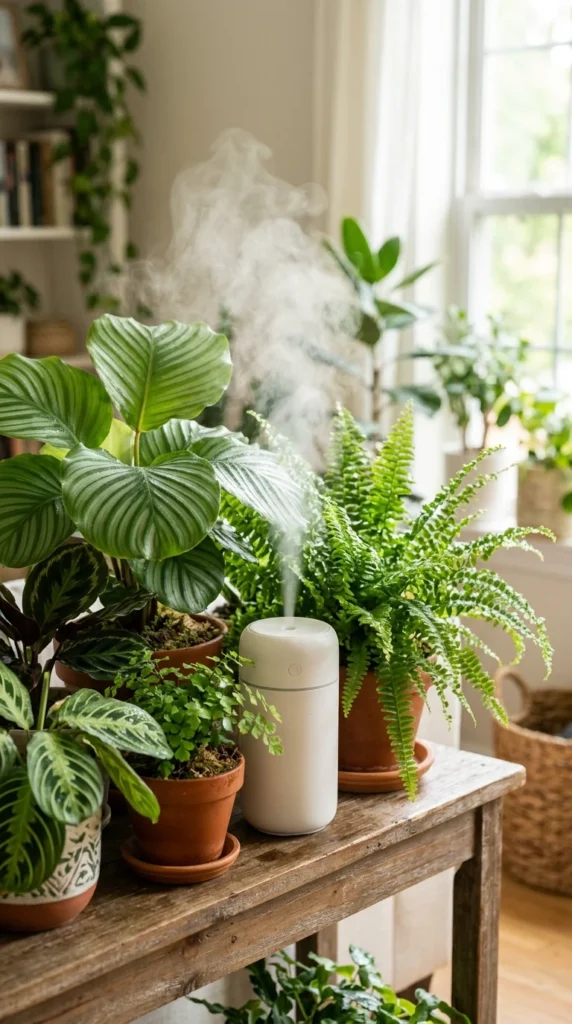
Most popular houseplants are tropical in origin, meaning they thrive in 50-60% humidity. Most modern homes, especially in winter when the heater is on, have humidity levels as low as 10-20%. This causes the edges of leaves to turn brown and crispy.
You can increase humidity by grouping plants together (they release moisture through their leaves, creating a microclimate), placing the pot on a tray filled with water and pebbles, or using a room humidifier. Avoid misting with a spray bottle as a primary solution; the effect is fleeting and can sometimes encourage fungal growth on the leaves.
9. Nutrients
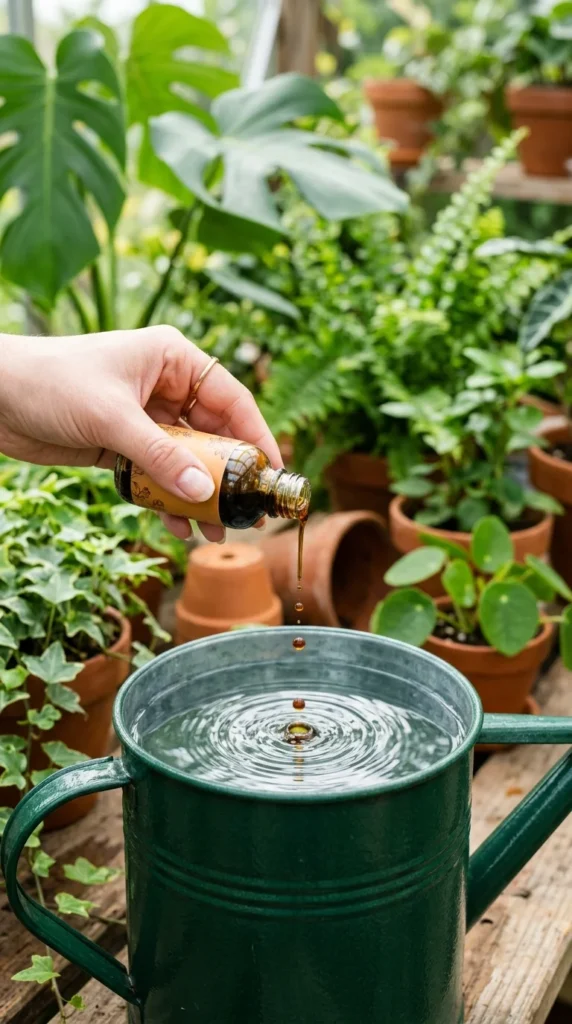
If your plant has been in the same soil for over a year, it has likely exhausted all the available nutrients. Symptoms of nutrient deficiency include pale leaves, stunted growth, or a general lack of vigor. However, a word of caution: never fertilize a plant that is severely stressed or bone-dry, as this can burn the roots.
Once you have stabilized the plant’s water and light needs, introduce a diluted, water-soluble fertilizer. Start with half the recommended strength to avoid shocking the system. Think of it as a vitamin boost rather than a meal; it helps provide the building blocks for new, healthy cells.
10. Quarantine
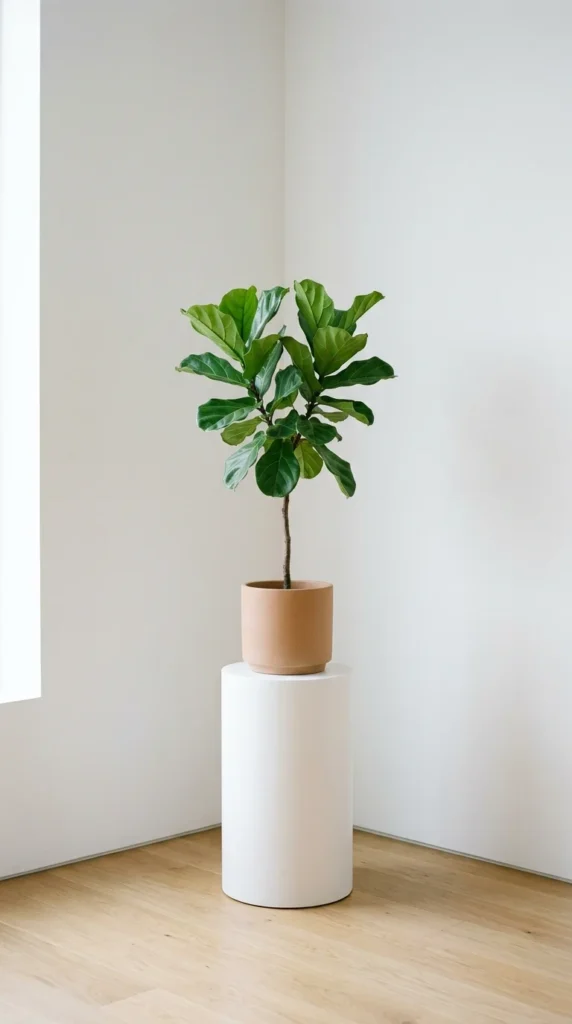
If your plant is dying due to a pest infestation or a fungal disease, the most important step is to isolate it. Pests like aphids, mealybugs, and thrips move quickly from one plant to another. By moving the sick plant to a separate room, you protect the rest of your urban jungle.
While in quarantine, treat the plant with neem oil or insecticidal soap once a week. Monitor the plant closely for new growth. Once you see a new, healthy leaf unfurling and no signs of bugs for at least two weeks, the plant is “cleared” to return to its original spot. This period of isolation also allows you to focus your attention on that specific plant’s recovery.